Registering and Getting Started with SkyStudio
1. Your First Step with SkyStudio
To register with SkyStudio, you need to apply either by filling out the "Contact Us" form via the free demo link on the website, or by getting in touch with one of our specialists. After this initial contact with our specialists, a link containing the information required to complete your registration will be shared with you.
2. Completing the Registration Form
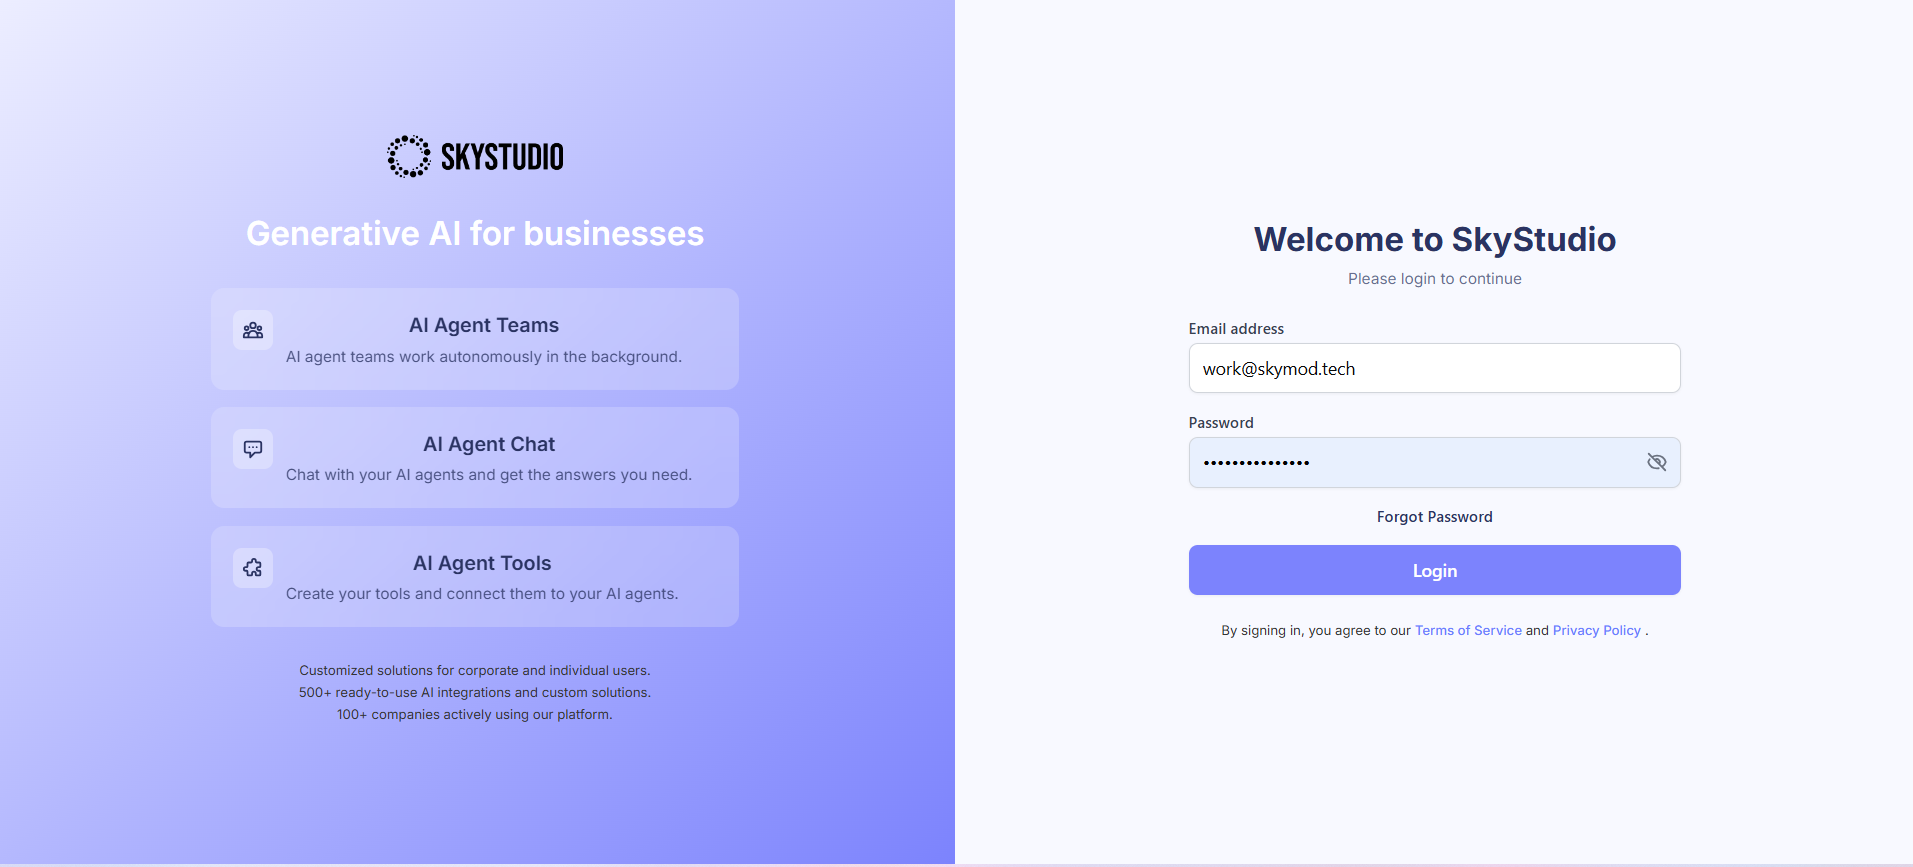
Once you have access to the registration form provided by the SkyStudio team, you will need to fill in the following details:
- First and Last Name: Enter your real first and last name in full.
- Email Address: Use the corporate email address provided by your company.
- Password: Choose a strong password. Make sure your password contains letters, numbers, and special characters.
101
3. Account Confirmation Process
After completing the registration form, a confirmation email will be sent to your corporate email address.
- Click the Confirmation Email: Activate your account by clicking the confirmation link in the email you receive.
4. Logging In to SkyStudio
- Access the Login Page: Click the Log In button on the home page.
- Log In with Email and Password: You can log in using your confirmed email address and the password you set.
5. Entering Company and Workspace Details on First Login
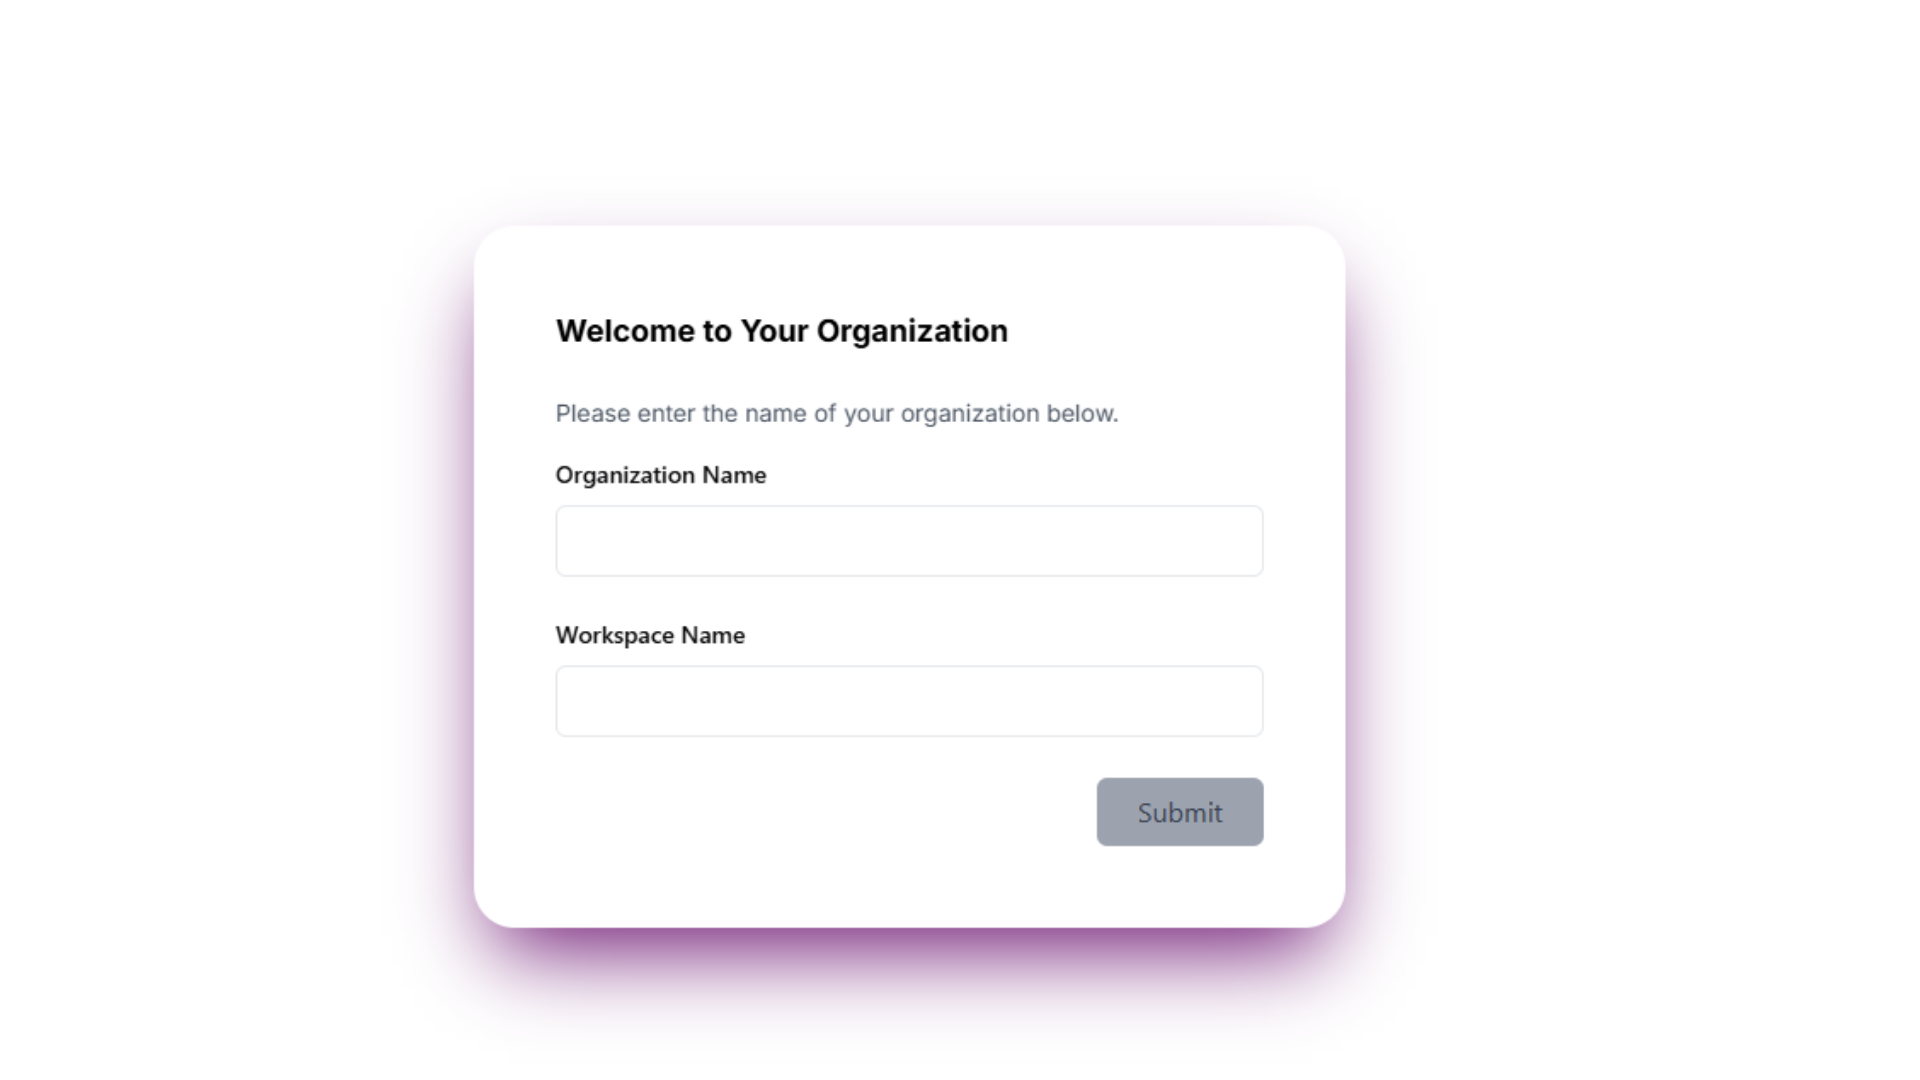
Once your account has been confirmed, you will be presented with a pop-up screen when you log in to the system.
On this screen:
- Enter Your Company Name: It is very important that you fill in this information accurately and in full.
- Set a Workspace Name: Choose a name that will define your workspace.
29
6. A First Look at SkyStudio via the Welcome Screen
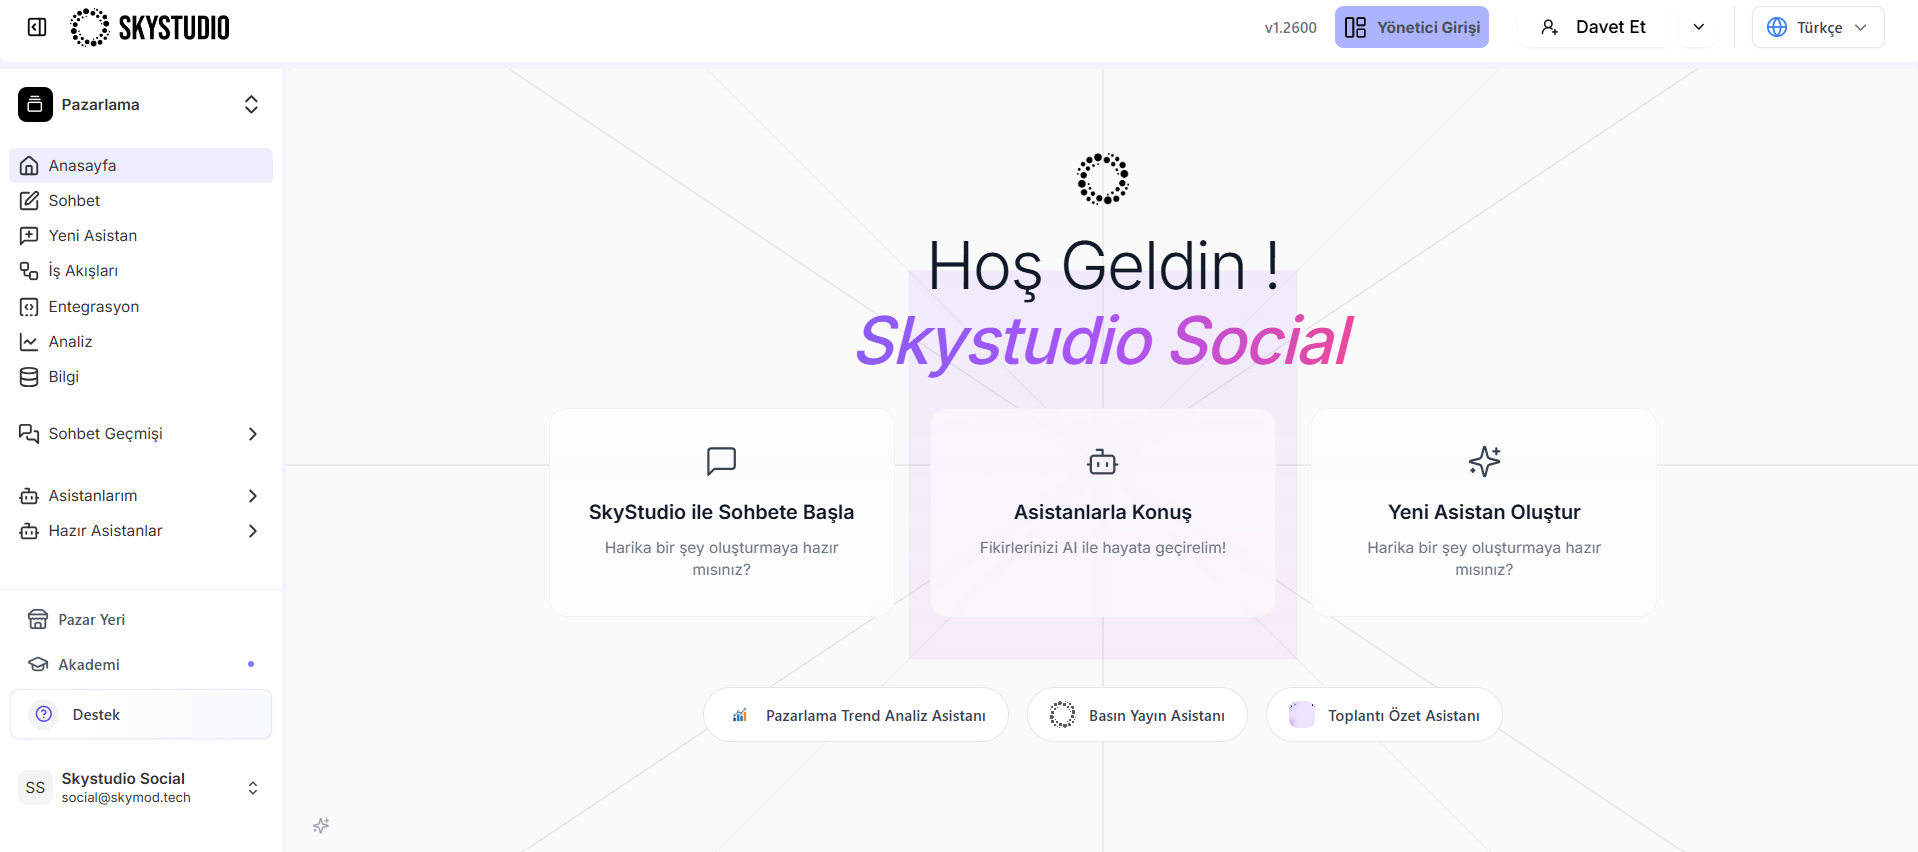
After entering your company and workspace details, a user-friendly and modern welcome screen will greet you. Thanks to this screen, you can easily access all the features the platform offers.
Main Features on the Welcome Screen:
- Start Chatting with SkyStudio: You can get a quick start by using the chat screen.
- Talk to Assistants: You can communicate directly with ready-made assistants and get quick answers to your questions.
- Create a New Assistant: You can create an assistant tailored to your own needs.
- Visual Generator: You can use this tool to create visual designs and content.
- Web Search Engine: You can quickly access information with the web-powered search engine.
- Email Composer Assistant: You can use this feature to create professional emails.
The welcome screen speeds up and simplifies your workflow by presenting all the tools and features you need in an organized way.
100